Digital Call Buttons
SYNQ digital call buttons are easy to deploy QR codes that link customers with smart phones to a friendly web interface where they can request assistance from a variety of configurable prompts. These requests are relayed to associates via the notification channel of your choosing.
Create a Digital Call Button display
To create a new digital call button QR Code:
- Sign into MyStore
- Select Call for Help
- Select Settings
- Scroll down to Call for Help Displays
- Click the + button
- Enter the following information:
- Display Name
- Notification Channel
- Escalations Channel
- Select the desired Display Options to present to the customer.
- You can include between one and four options.
- The list of available options come from your configured list of Call for Help Prompts. See Prompts for more information.
- Check the Enable QR Code checkbox
- Click Create Display
Test a QR Code Display
To test a QR Code display:
- Sign into MyStore
- Select Call for Help
- Select Settings
- Scroll down to Call for Help Buttons
- Click the ⋮ menu on the desired display and select Download QR Code
- To test the display from your PC, click the Try it Out button.
- A popup window opens (emulating the customer's experience on their smart phone)
- Select an option
- Validate that the call for help request appears as a notification in the expected Teams channel
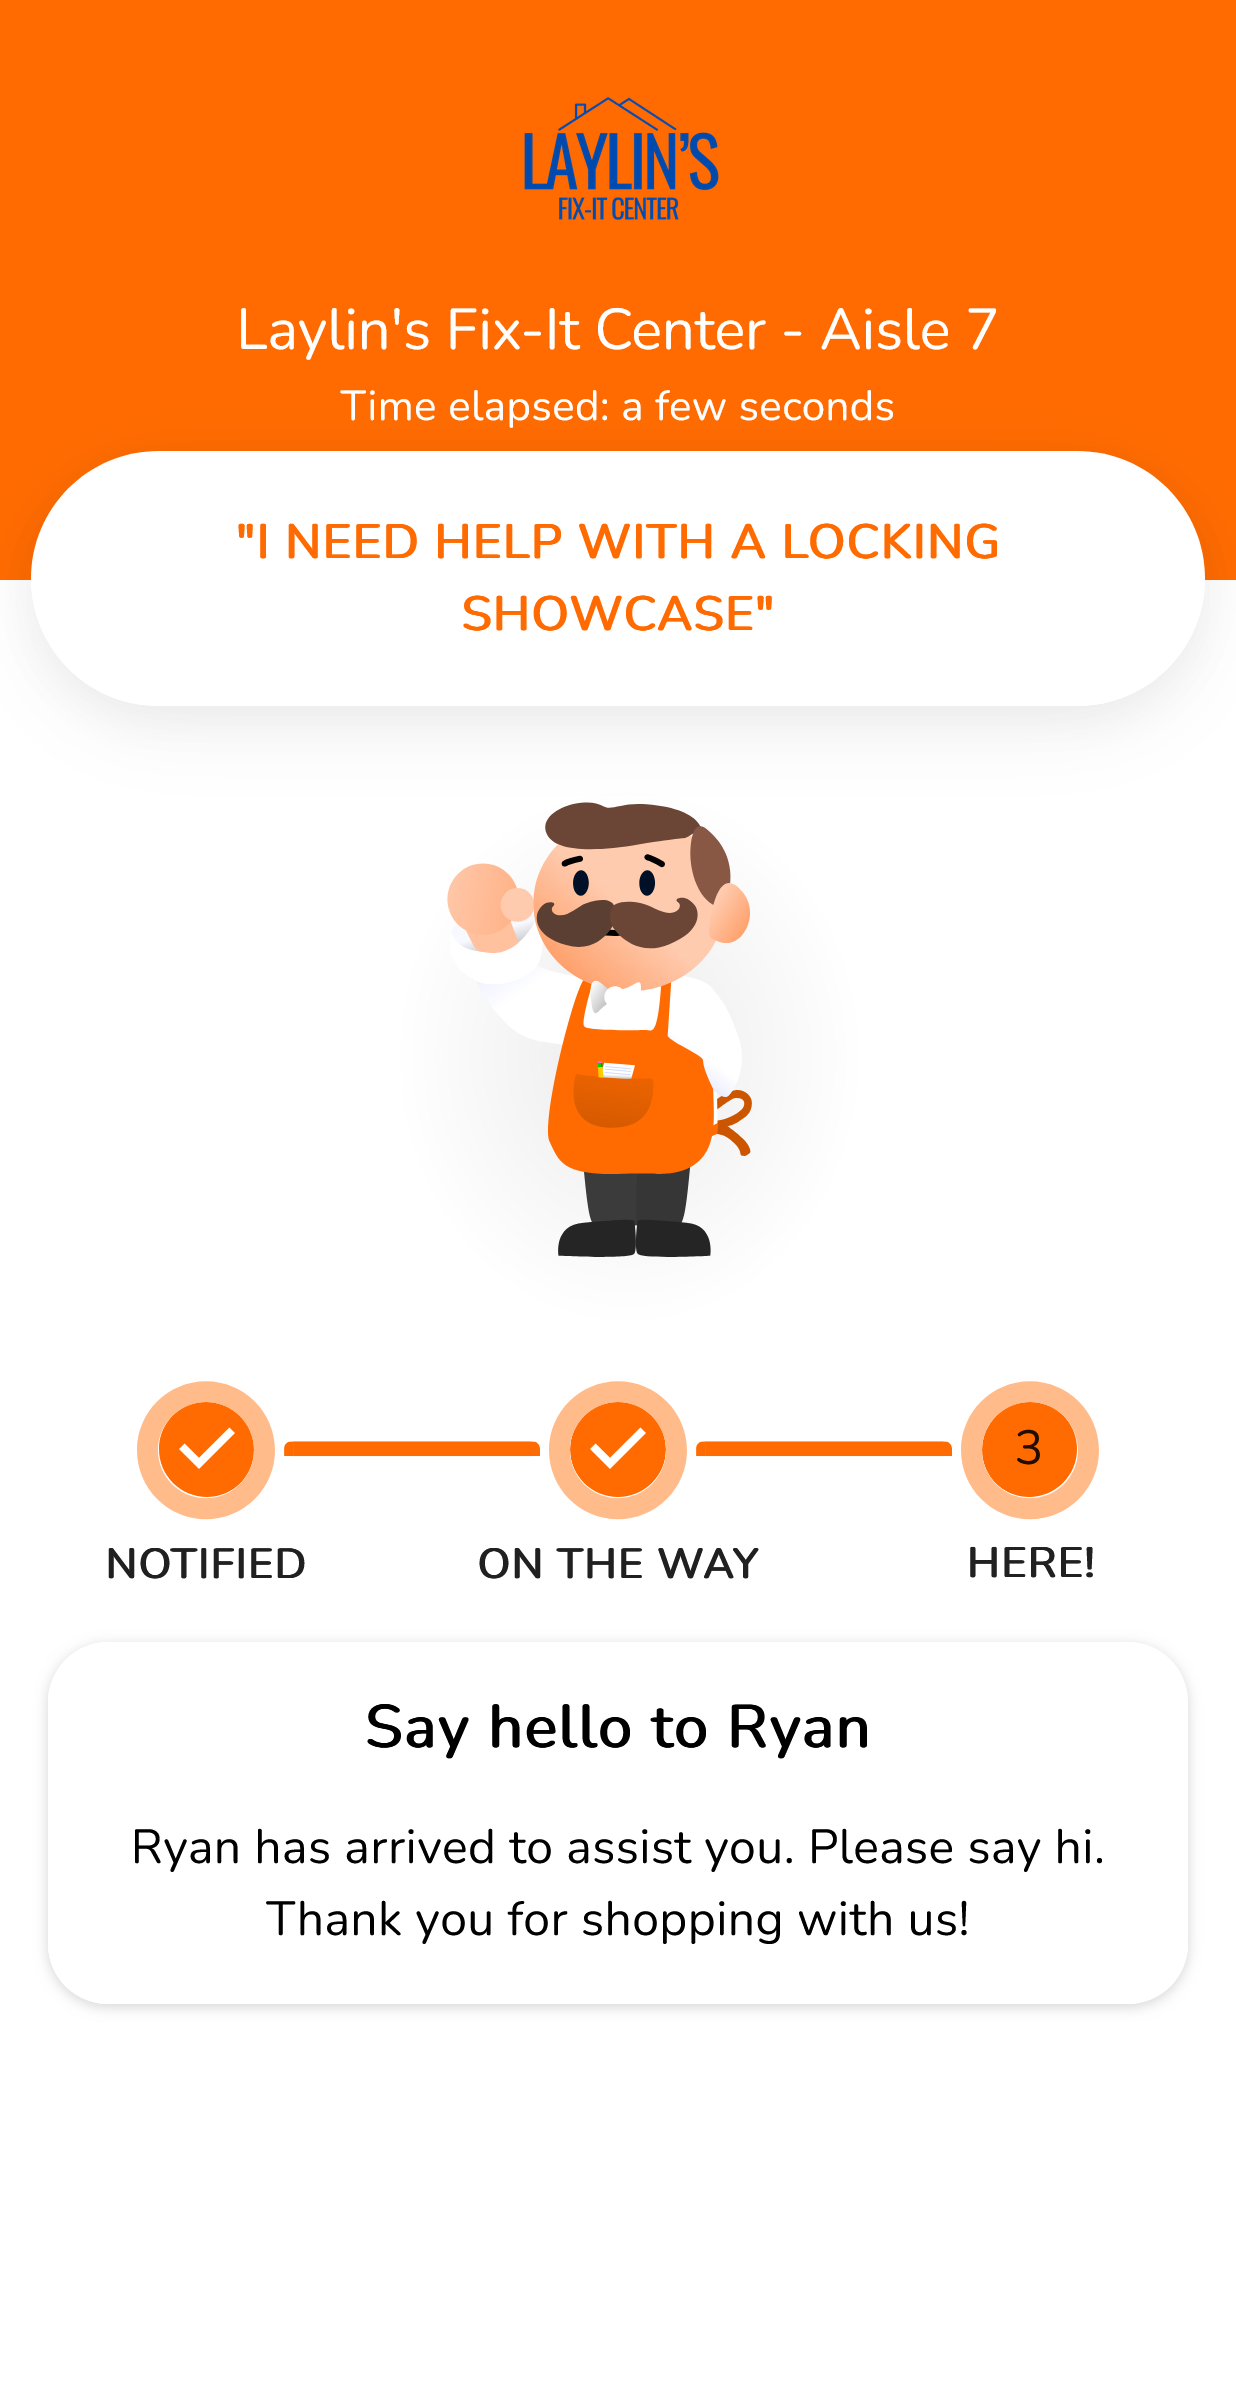
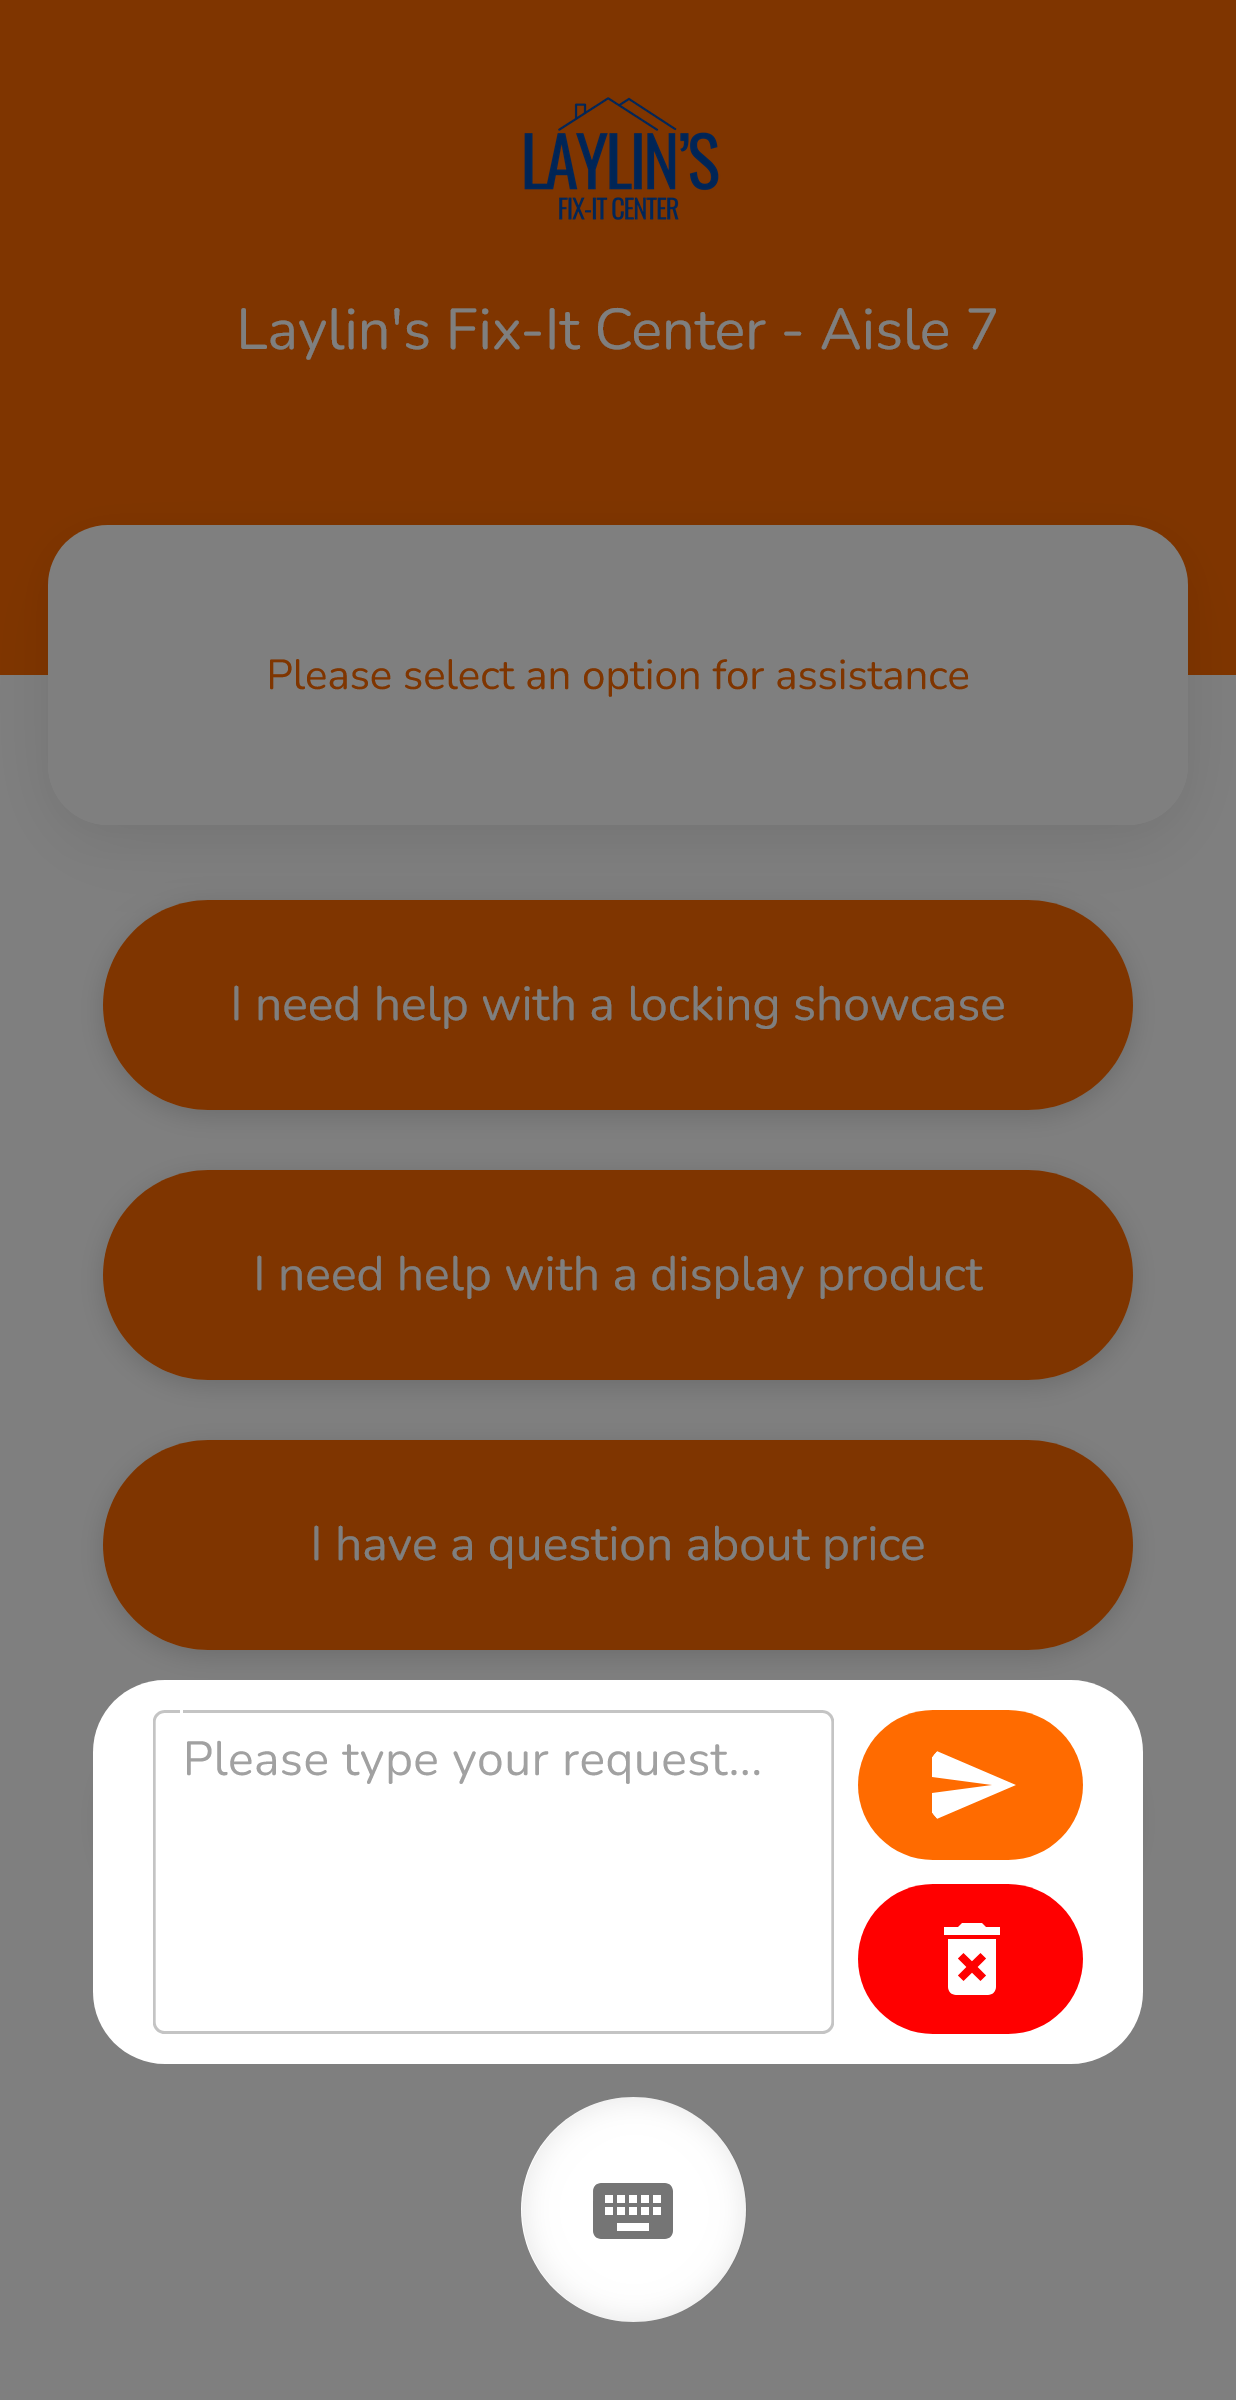
Customer Experience
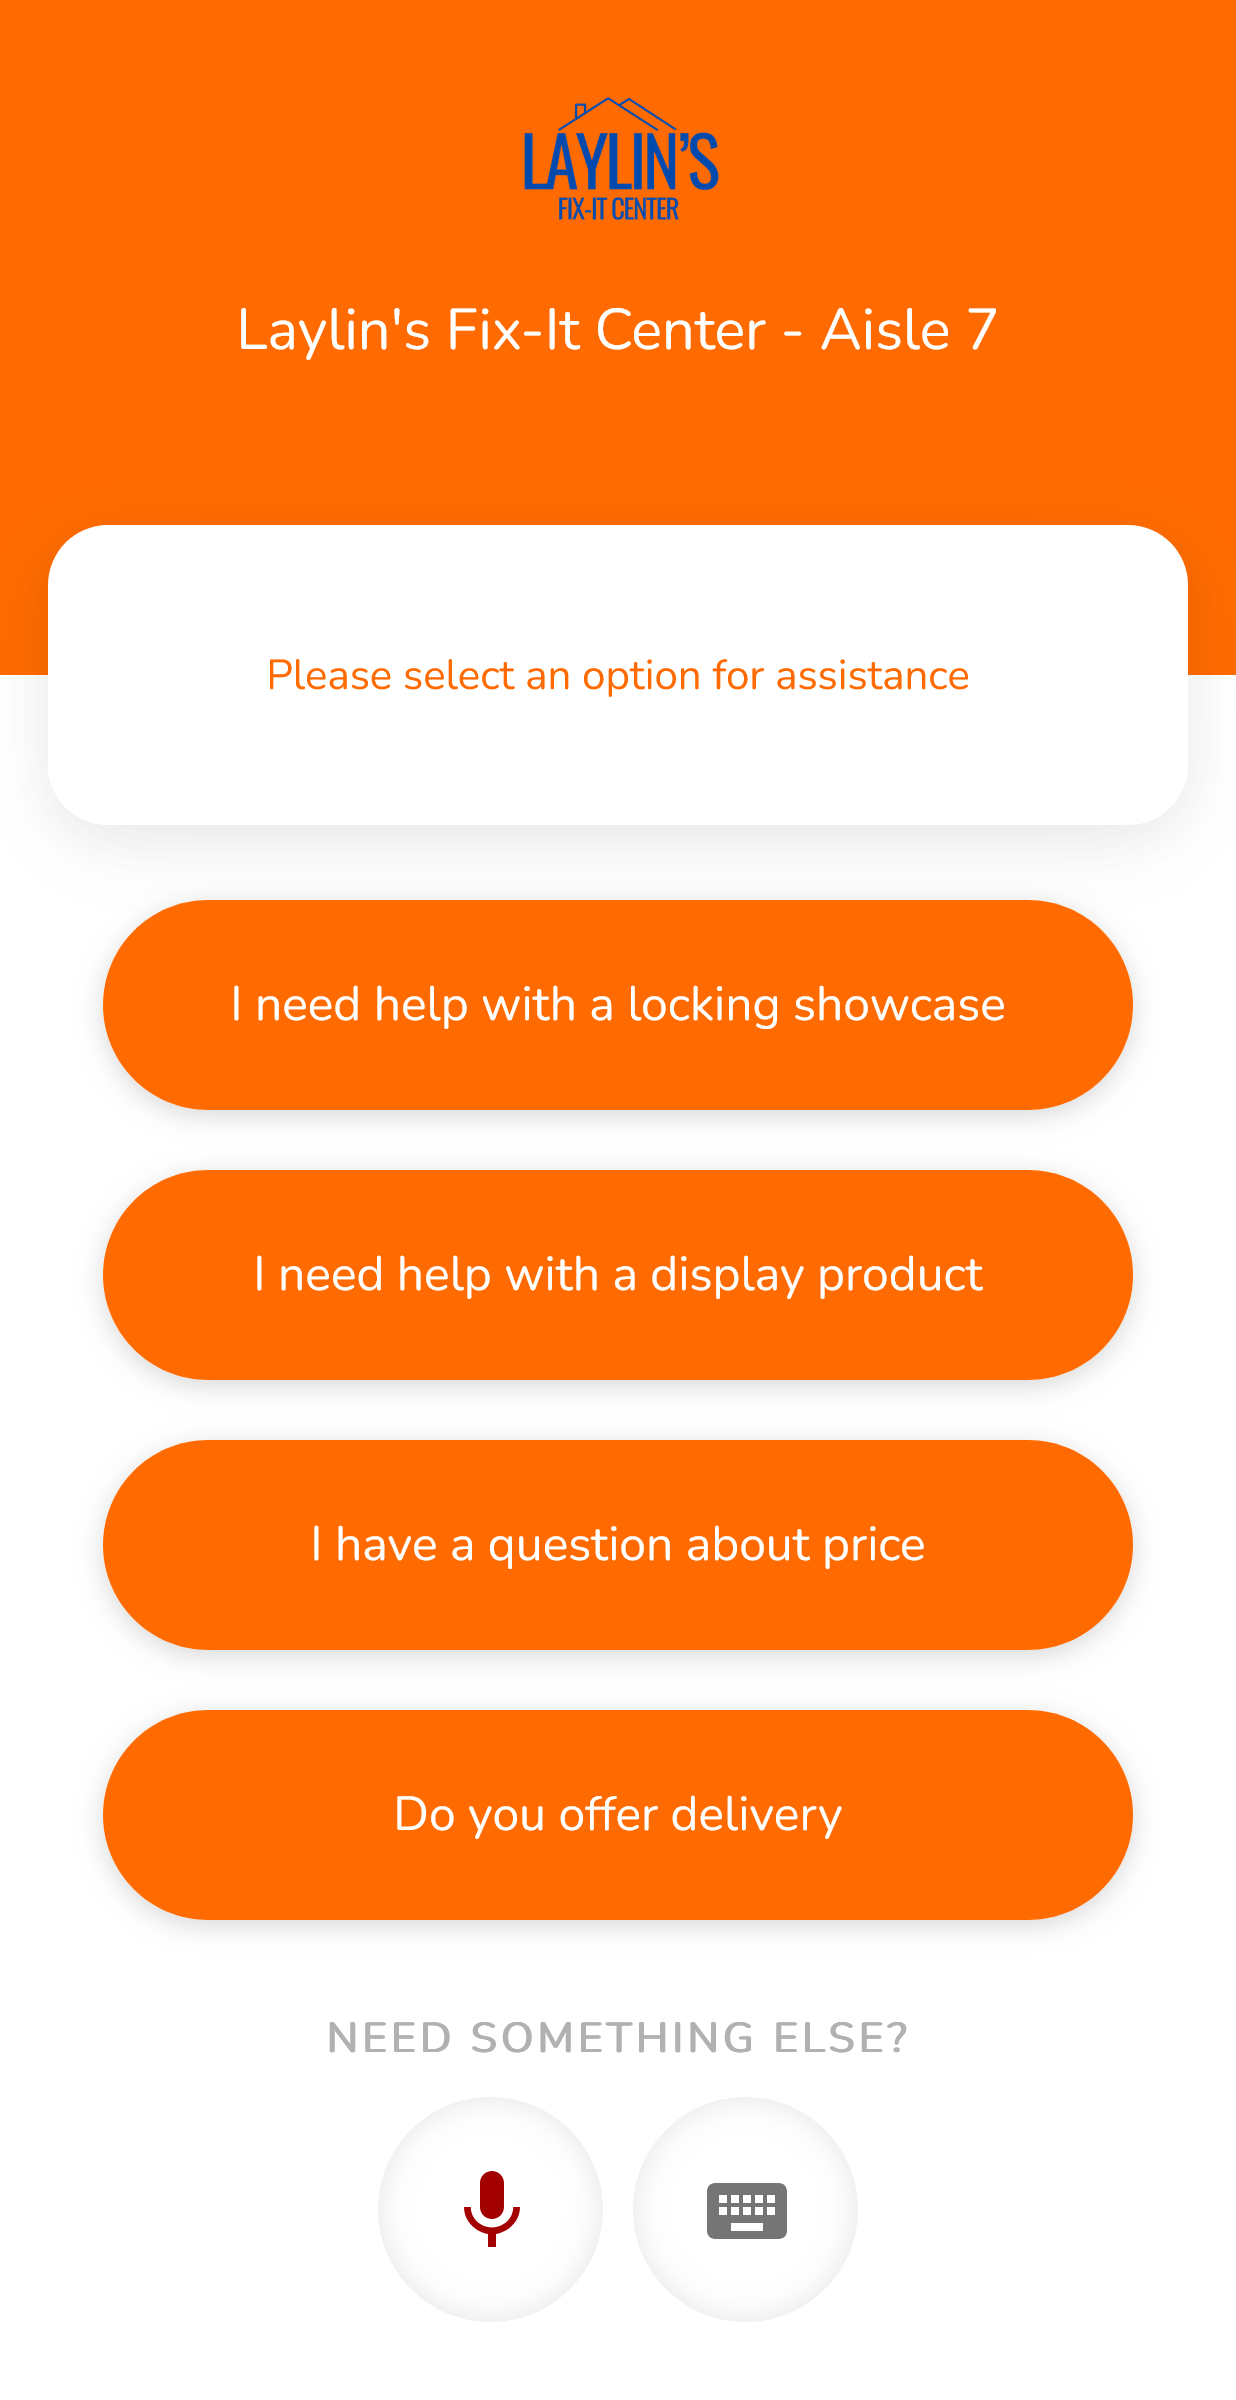
Select an option
The customer selects from a list of options the type of help they desire.
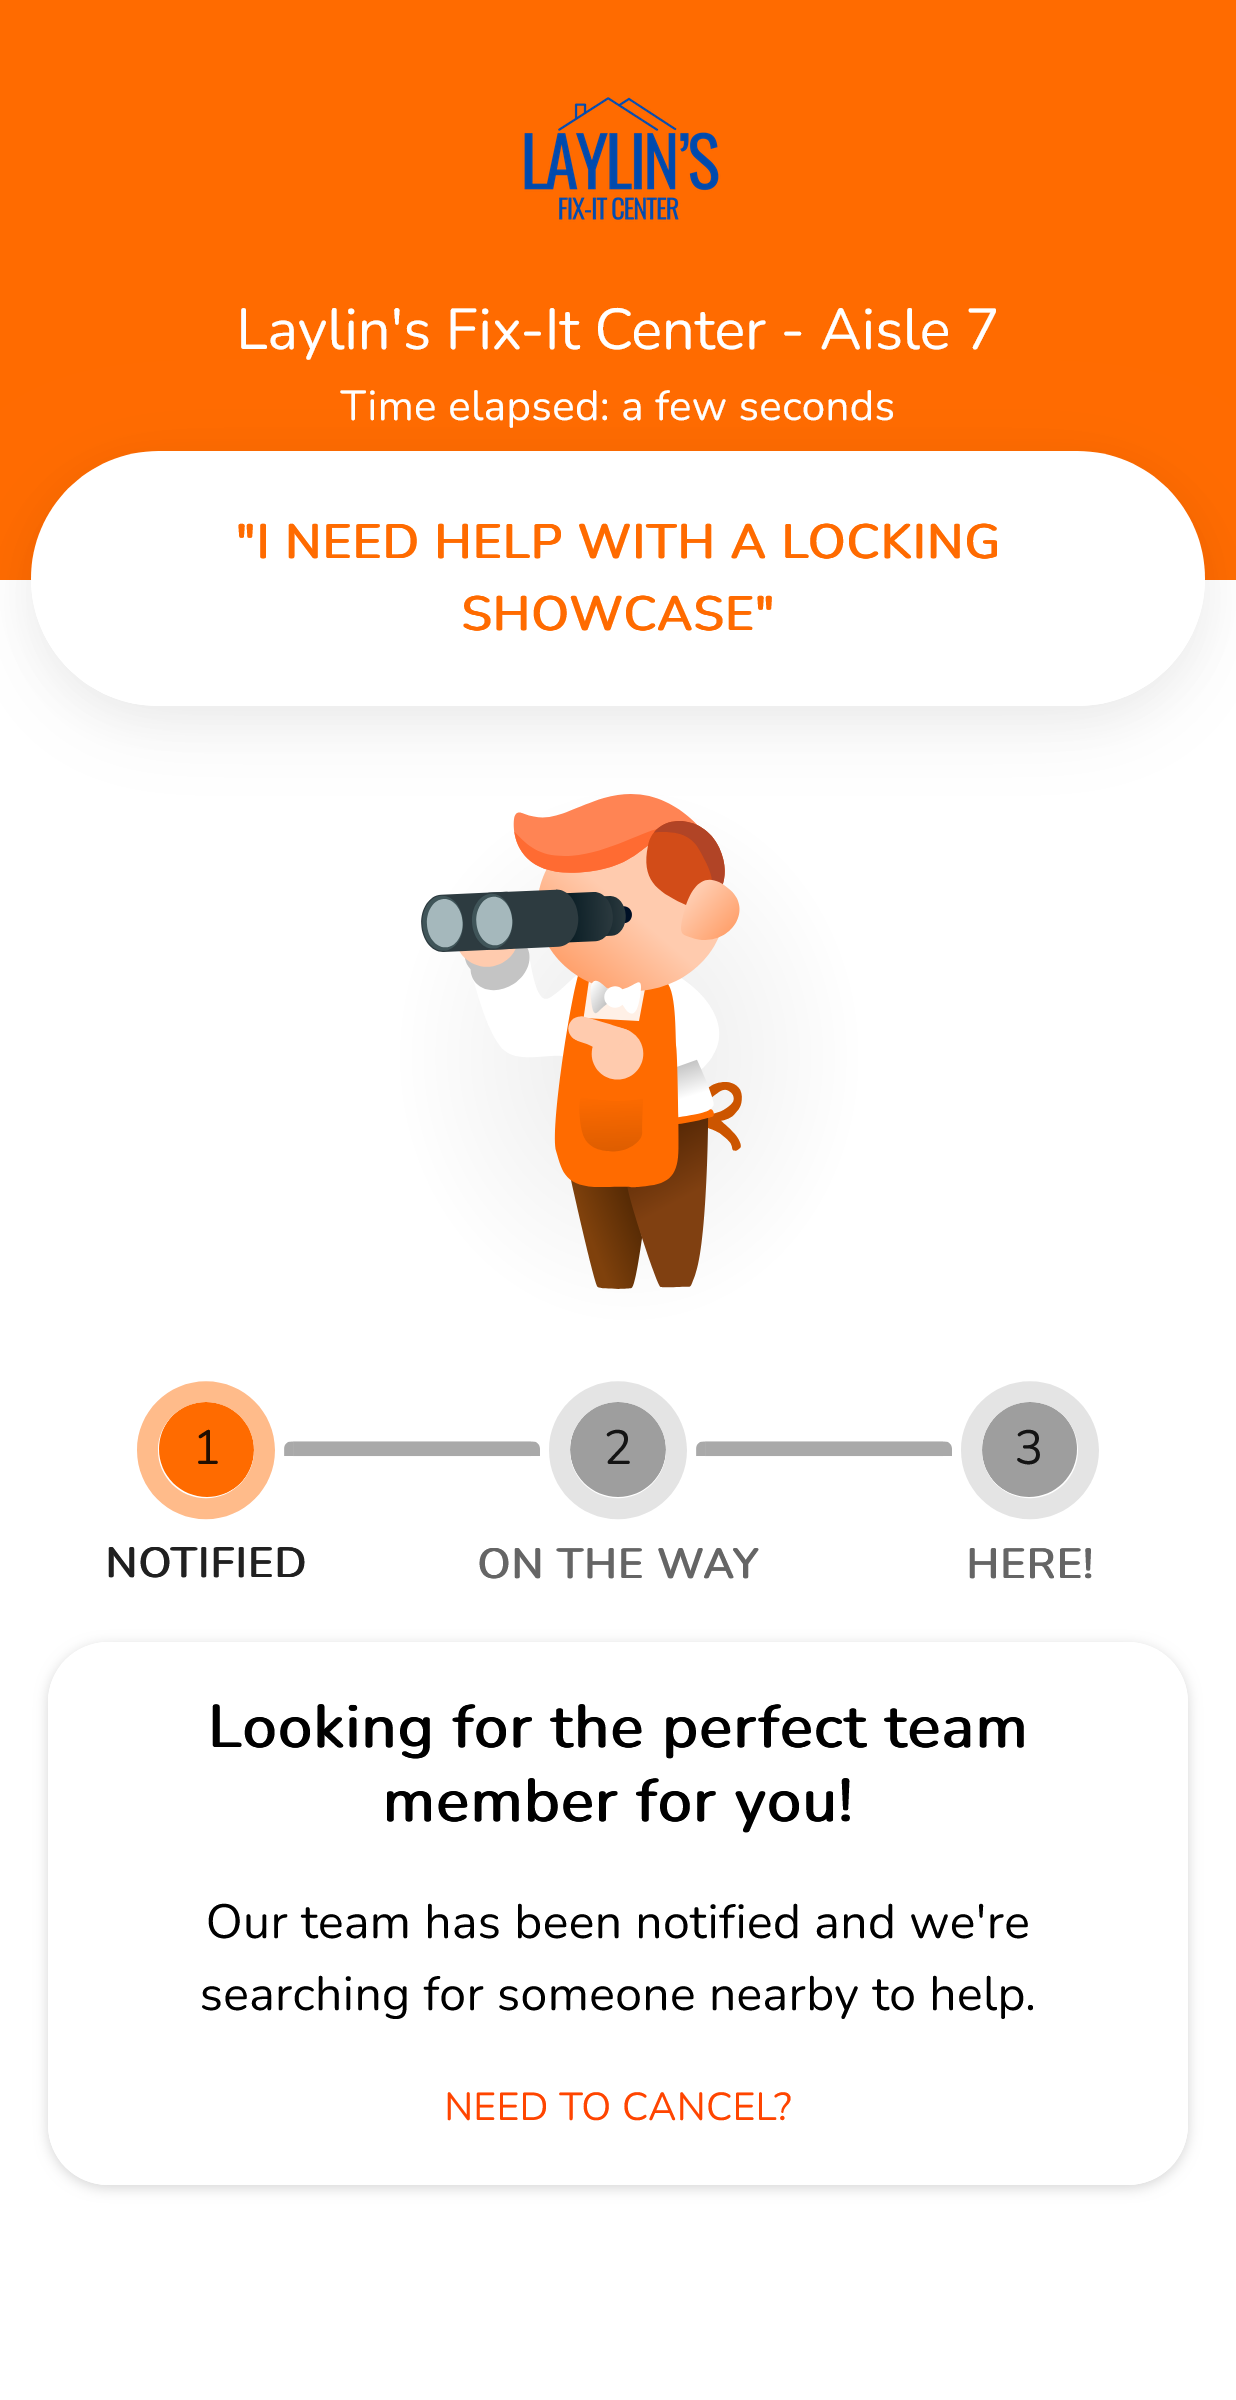
Request received
After submitting their request the customer sees a progress tracker page that showing that their request has been received.
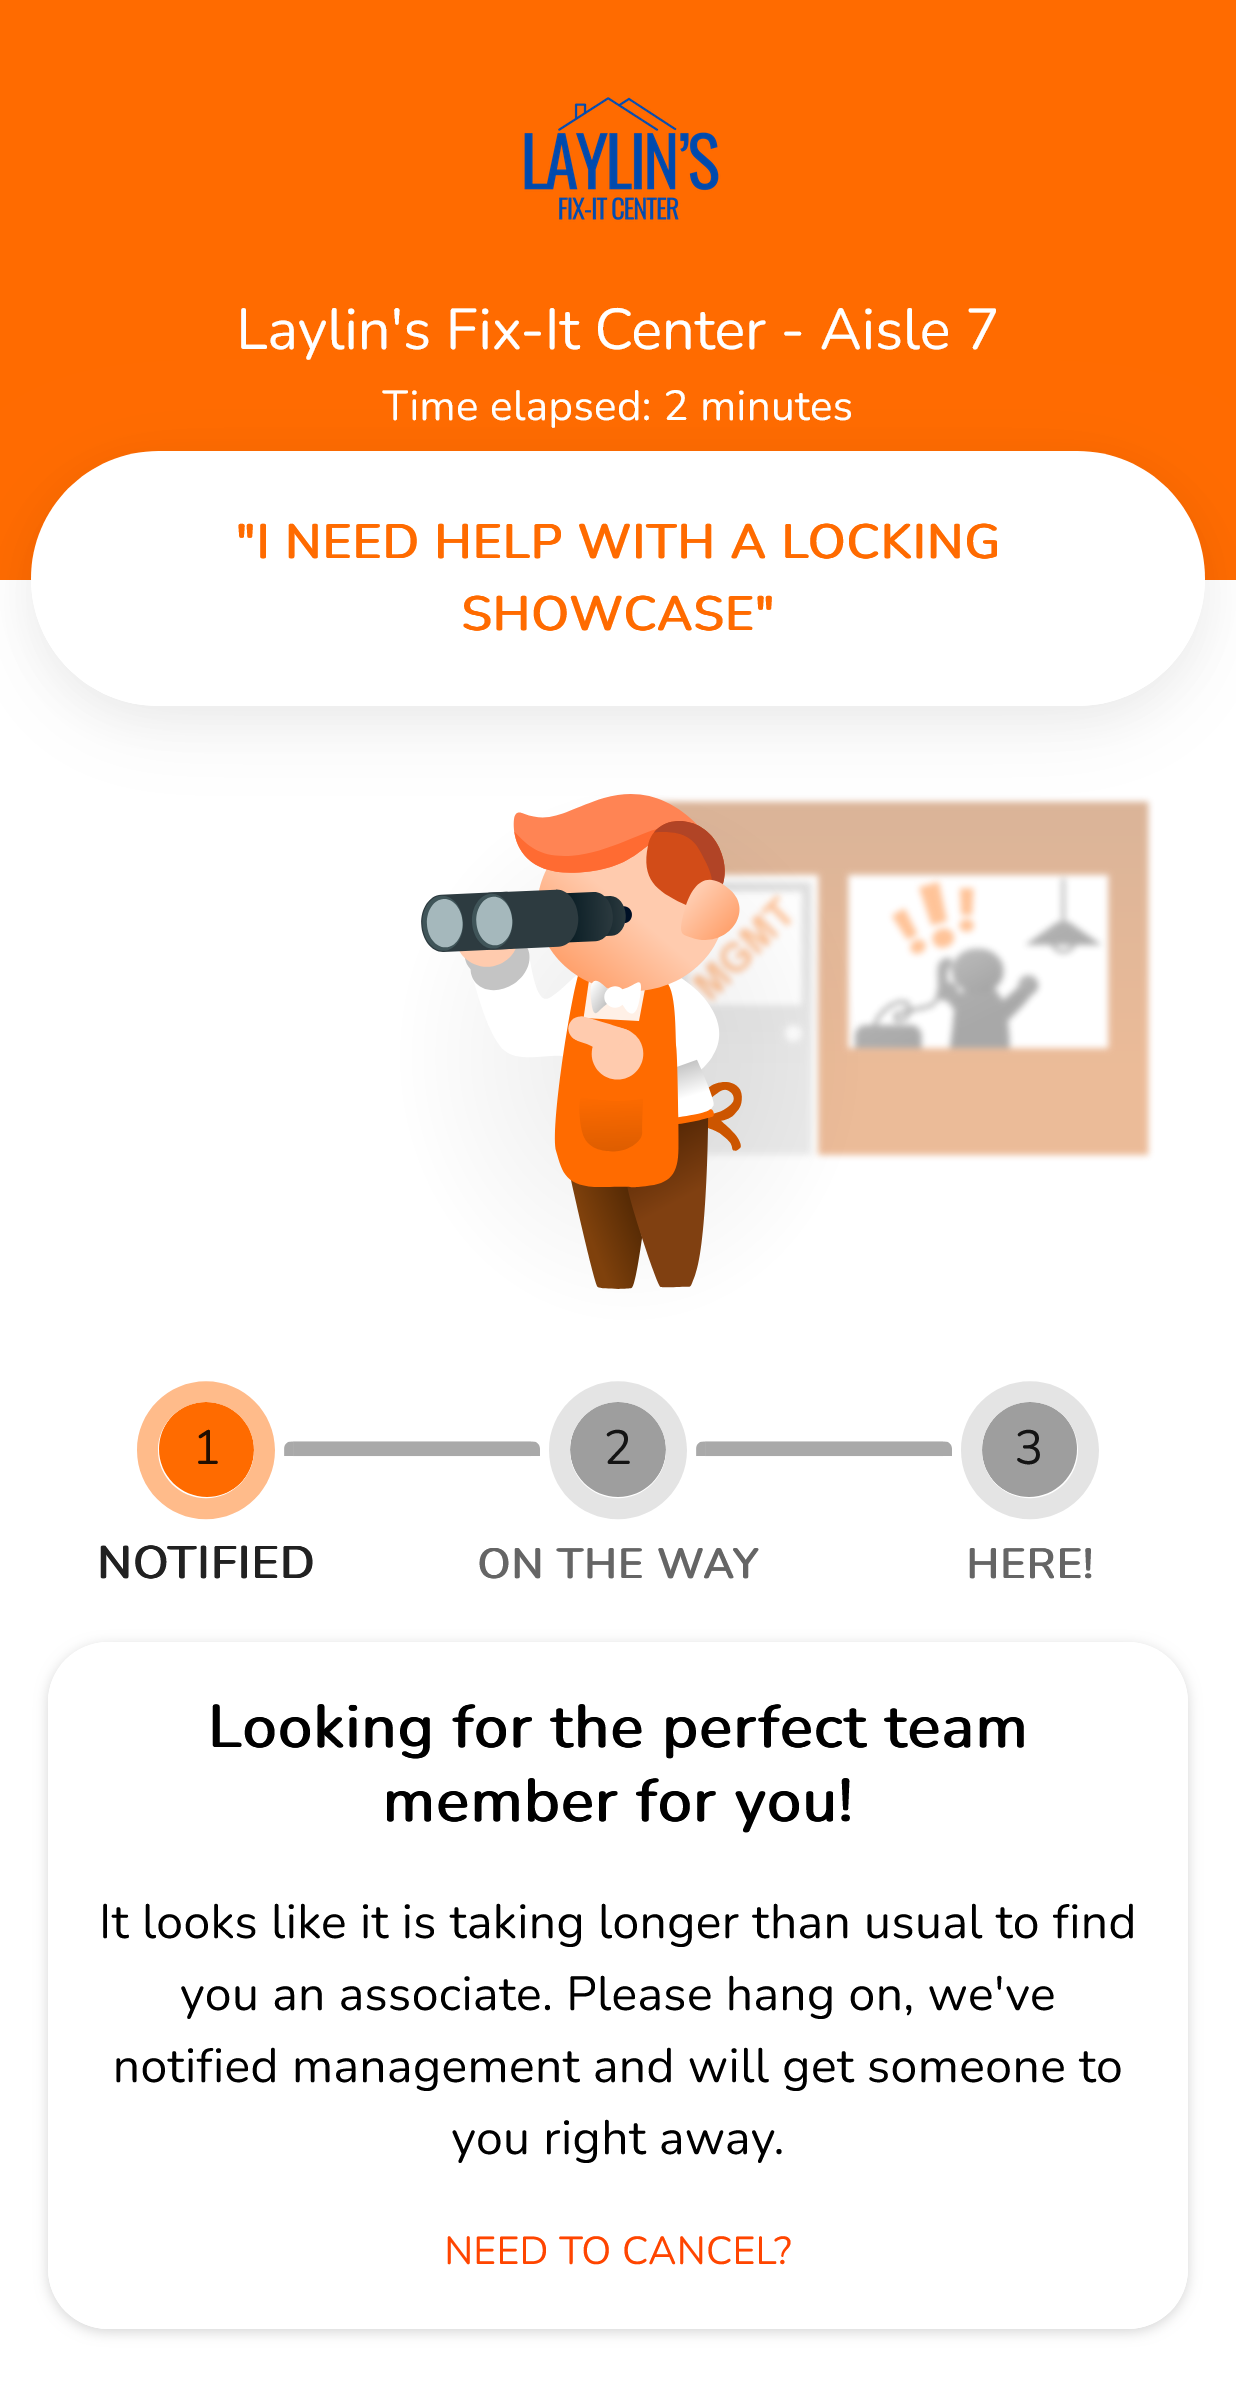
Request escalated
If the request is not claimed within the configured escalation timeout the progress tracker page can optionally show the customer that their request has been escalated.
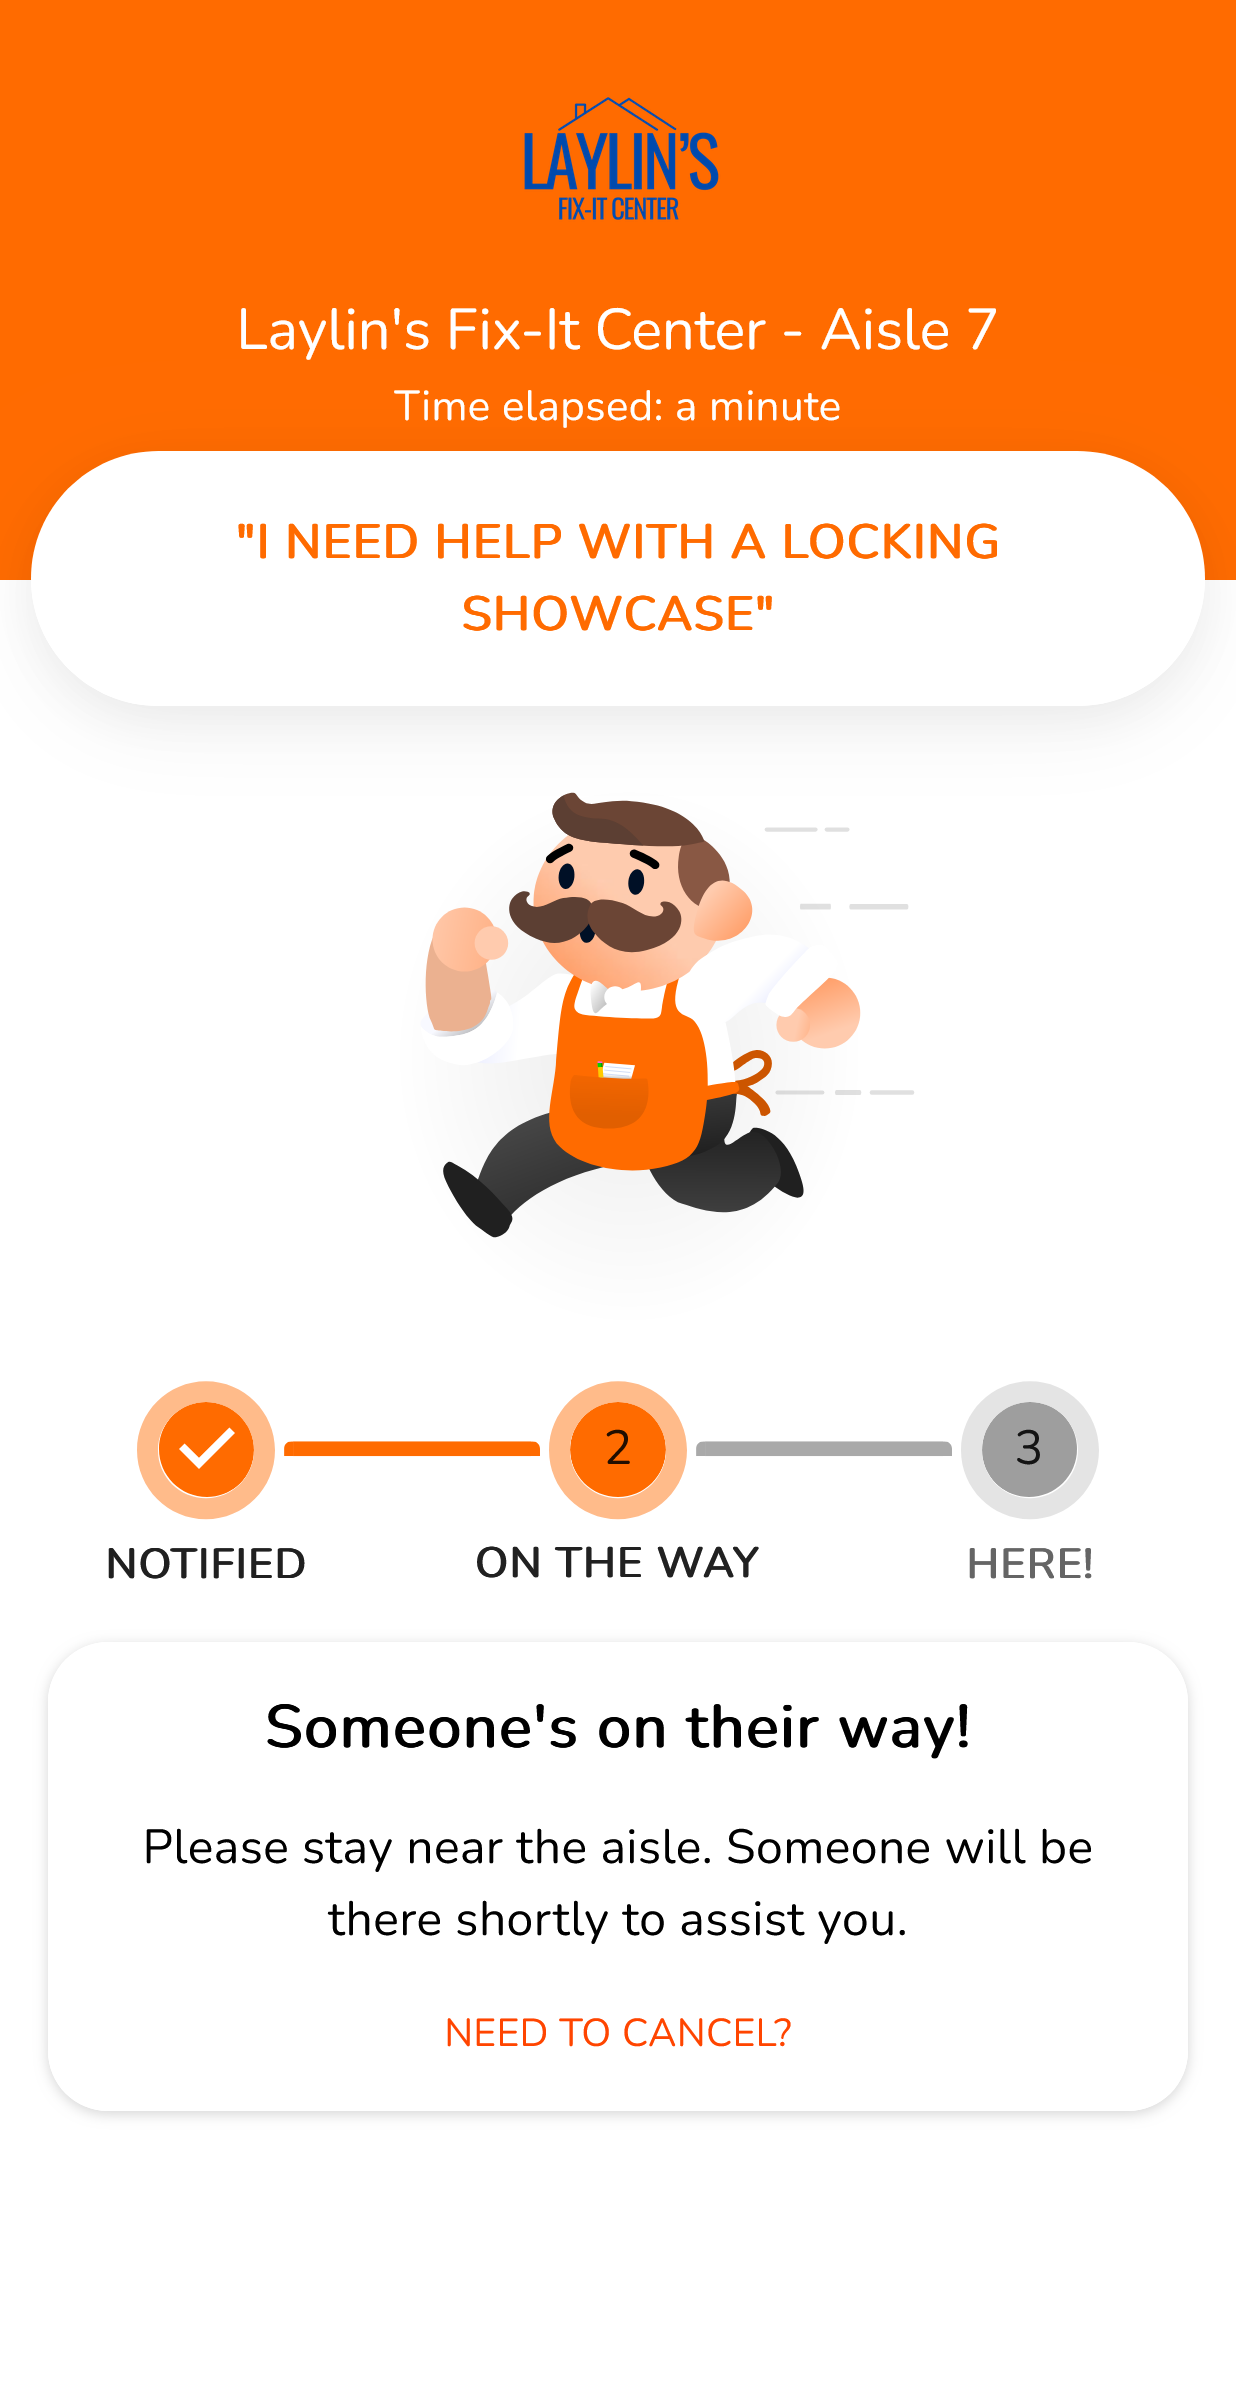
Request claimed
Once the request is claimed by a staff member the progress tracker page updates to show that someone will be there soon.
Request done
Once a staff member indicates that they are on their way the progress tracker page updates to show that the staff member is arriving.
Settings
Staff Display Name Format
When staff claim a request the system knows who did it. By default the full name of the staff member is displayed in the notification presented to staff and the customer facing tracking page of digital call buttons. You can use the Staff Display Name Format setting to limit the name shown to just the first name, or provide something generic like "An Associate".
Custom Input
By default, digital call buttons only allow the customer to select from a set of predefined prompts. If you would like the customer to be able to provide their own request by typing it in or using their web browser's microphone, you can enable the Allow custom input setting.
Customer supplied inputs are limited to 200 characters and will be rejected if they fail to pass a profanity filter.
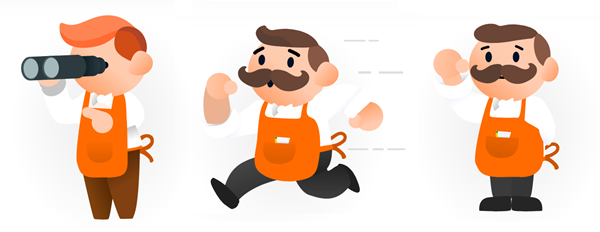
Mascot Image
The customer facing status page of a digital call button shows the progress of the request. This page shows a set of friendly mascots that aim to represent staff hard at work trying to service the customer request. If you don't want to see these mascot images you can disable them with the Display mascot image on tracking page setting.
Customer Facing Escalations
Customers hate waiting. But they are more willing to wait if they see that there is some urgency on the part of your staff. You can choose to expose the escalated state of a digital call button request to your customer with the Display escalated state on tracking page setting.
Branding
Digital call buttons provide a web interface for customers so it is important to provide your store's branding to them so that they feel like a natural part of your store.
To update the branding of your digital call buttons:
- Sign into MyStore
- Select Call for Help
- Select Settings
- Scroll down to Custom Style
- Click Open Style Editor
- Provide the Logo URL to a SVG or PNG image of your brand logo
- The image's size will be adjusted automatically:
- Maximum height: 100 pixels
- Maximum width: 150 pixels
- We recommend using an image with a transparent background
- The image's size will be adjusted automatically:
- Use the Color Pickers to select your brand colors
- Click Save Logo and Colors
For more advanced branding control you may also update the Component Stylings.