Microsoft Teams
SYNQ supports Microsoft Teams as a communication platform provider. This means that all staff-facing notifications generated by SYNQ will be delivered to configurable Microsoft Teams channels as Adaptive Cards.
To configure SYNQ to use Microsoft Teams for your store location you need to:
- Deploy Microsoft Teams
- Create a team within Microsoft Teams.
- Add channels to those teams that represent the groups of workers that should receive notifications.
- Add users to the team.
- Add the Frontline Hero App to Teams.
- Configure SYNQ apps and devices to send their notifications to your Teams channels.
Deploy Microsoft Teams
This is a prerequisite that is typically already in place at most organizations. For organizations or store locations that are new to Microsoft Teams your'll need to talk to you corporate system administrators to get onboarded.
Canadian Tire stores should contact "Canadian Tire Corporate" to enable Teams for their store location.
In order for your frontline workers to use Microsoft Teams they must have frontline worker SKUs for Microsoft O365. You can find more info here.
Create Teams and Channels
Microsoft provides detailed instructions on how to create teams and channels here.
Create a Team
- Open Microsoft Teams
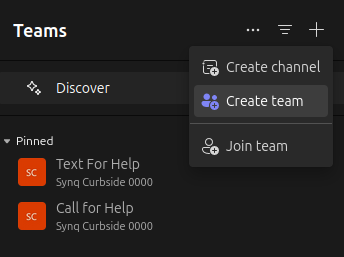
- Select the Teams tab
- Click the
+icon and select Create team.
- Provide the following:
- Team name
- Description
- Team type: Private, Public, or Org-wide
- Name the first channel: General
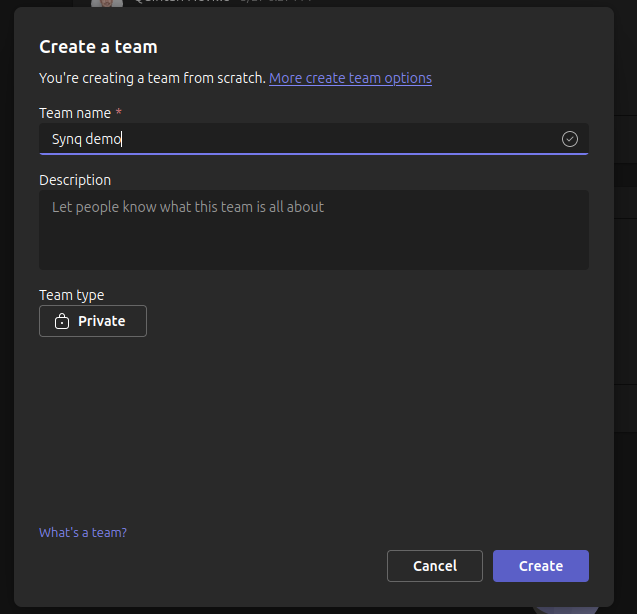
- Click Create
Add Channels to the team
- On the Teams tab
- Click the ⋯ menu of the desired team and select Add channel

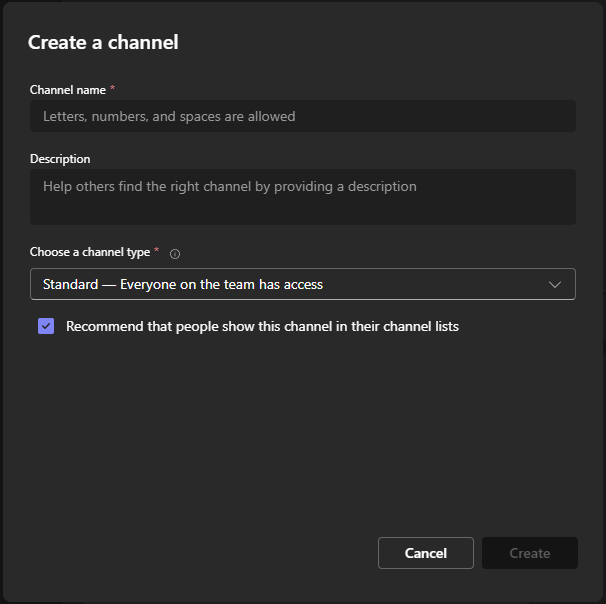
- Provide the following:
- Team name
- Description
- Channel type: Standard or Shared
 note
notePrivate channels are not supported. This is a limitation of Microsoft Teams.
- Click Create
- Repeat for all the channels you want to add
If you are just getting started you may not know all the channels you plan to create. Channels can always be added and reconfigured later.
We recommend that you create a "Testing" channel. This can serve as a staging area for any devices or apps that you enable. It gives you the ability to verify everything is working without spamming your staff with test notifications.
Add Users to the team
- On the Teams tab
- Click the ⋯ menu of the desired team and select Add member
- Enter the name or email of the desired user or security group to add
- You can add multiple users at once
- Select the desired role (Member or Owner) for each user
- Click Add
If you are just getting started you may not yet have a complete list of all users that should be added. This fine because team members can easily be added/removed later. We recommend you get started by only adding a few users that will be involved with the initial testing of the system.
Manage Team Members and Permissions
- On the Teams tab
- Click the ⋯ menu of the desired team and select Manage team
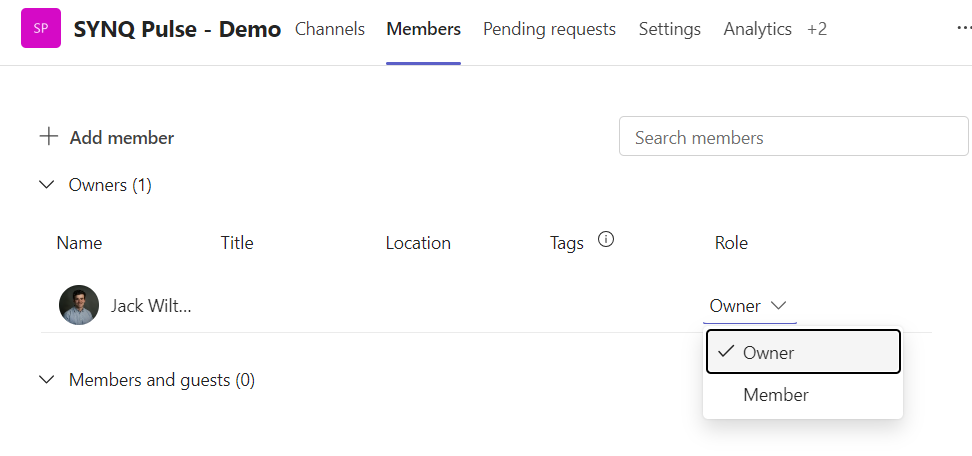
- Select the Members tab
- All Members of your team will be listed here, separated into two categories: Owners and Members and guests
- Owners are able to manage the team, its channels and its users.
- Members can view but not edit.
- To grant administrative privileges to a user, change their Role to Owner
Add the Frontline Hero App to Microsoft Teams
Once your Team is created, channels are added, and relevant users are added, you'll need to add the SYNQ Frontline Hero to the Team.
- On the Teams tab
- Click the ⋯ menu of the desired team and select Manage team
- Select the Apps tab at the top of the screen
- Click + Get more apps
- Search for "SYNQ Frontline Hero"
note
Canadian Tire stores should contact "Canadian Tire Corporate" to add the "MyStore by SYNQ" app instead for their location.
- Click Add on the SYNQ Frontline Hero app
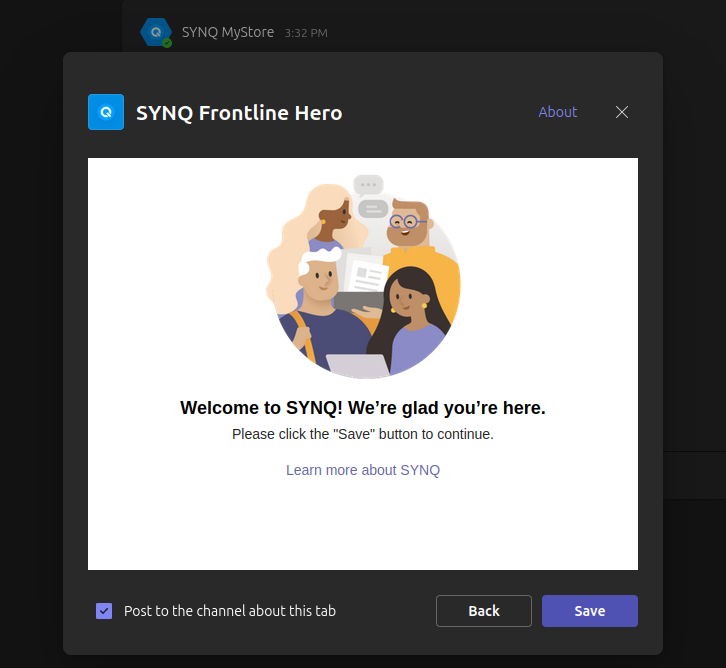
- Click Save.
- A welcome message will appear in a post in the default/General channel of the team prompting you to complete the registration.
- Click the Complete Registration button. This will take you to the SYNQ Frontline Hero admin portal to complete the registration.
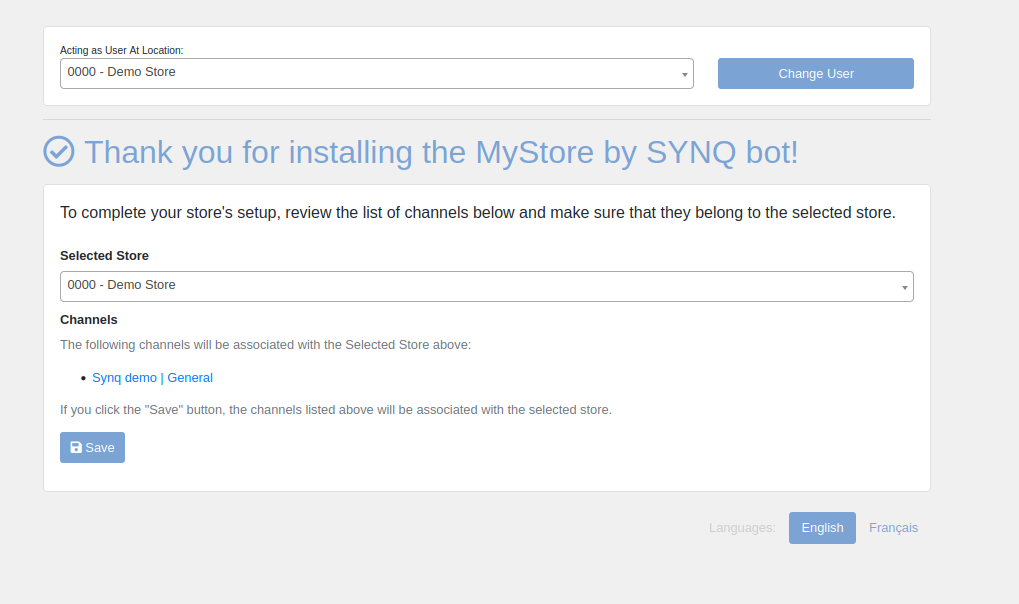
- Sign in with your Microsoft Account, if prompted.
- Click Save.
- The SYNQ Frontline Hero app has now been registered with the team. A final success message should appear.

Enabling/Disabling Notifications
Microsoft Teams notifications are set at the user level and are custom to an associate's Teams account. Notifications can be configured, in Teams, from your workstation or mobile device.
Workstation
- In the Teams application, locate the channel that you wish to enable/disable notifications on.
- Click the three dots ⋯ to the right of the channel name to open a popup menu.
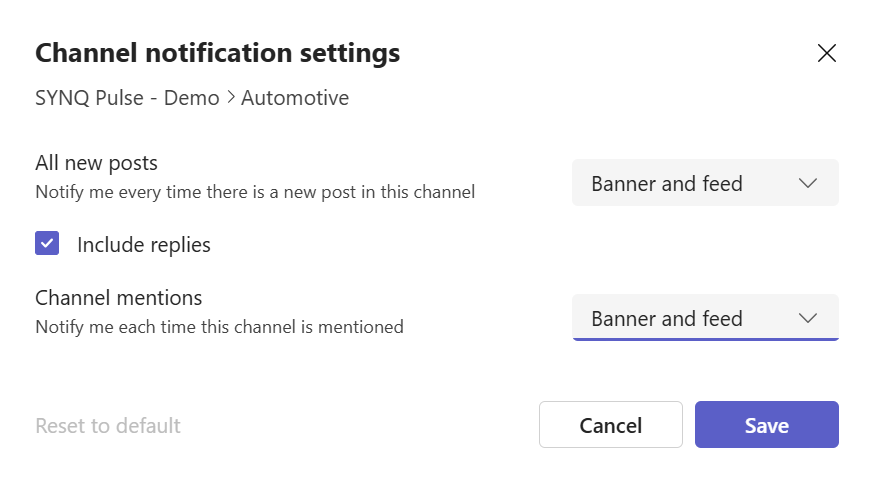
- Click Channel Notifications.
- Set the notification preferences as needed. The below image shows the needed settings to receive notifications.
Mobile Device
- In the Teams application, press the channel on your mobile device.
- Select the Channel Name > at the top of your screen.
- Select Notify me for new posts and select either option to enable/disable notifications for this channel.
Most mobile devices will have a Silent or Do Not Disturb mode that can override whatever settings you have enabled in Teams. If no notifications are coming through and Teams has been configured properly, you will need to make sure the device isn't in Silent or Do Not Disturb mode. You can typically access notification settings on the device by pulling down from the top of the screen.